Or Love in the Time of COVID!


The 1887 map of Moruya showing the names of who owned which property, arrived unannounced one morning on the doorstep of the Moruya Museum with no details, not even any hint as to who had left it there. Objects without provenance are usually not welcomed but this object clearly ticked the other significance boxes of the Society’s Collection Policy. Yes, we have one, and it is comprehensive.
The map is a large object measuring 762 mm x 820 mm. The substrate is a calendared clay coating over a light woven fabric. The image had been produced by photo-lithography at the Government Printing Office and then transferred to stone and printed at the Surveyor General’s Office in Sydney. So said the helpful information printed on the map. The original colour is lost in the mists of time, but it is now, a not unattractive, sandy colour. It was a well-made object with an indicative price of 1 shilling (about $15 today).

When it arrived on the museum’s doorstep the map was tightly curled as it had been rolled up for any one’s guess of how many years. The surface was crazed with multiple stress fractures and many tears around the edges, small and large. The first step was to safely flatten the map so we could get a good look at it. Layers of Tyvek sheet were placed below and on top of the map. Tyvek allows a certain amount of water vapour to pass through but not liquid water. Wetted paper was placed over the Tyvek and very gentle even pressure applied. The risk was trying to do too much too quickly… and mould! By good fortune the substrate relaxed before mould had time to become established.
Over the years there had been several attempts to repair the multiple tears around the edges, some more professionally carried out than others.
Most fortunately no-one had tried to repair the damage using ‘sticky tape’ across the front and all the previous repairs had been applied to the underneath and not the printed surface. Most of the repairs were very small and still holding well. However, there were three major areas needing attention, all had been previously repaired but the repairs had long since deteriorated.
The original repair material was unknown so it was carefully removed and would be replaced with lightweight acid free tissue. Actually the old repair material mostly just fell away, but that makes it all sound too easy. The new repair tissue was torn, not cut, to create a rough edge so the tissue fibres could be teased out to make a soft edge to the repair.
Wheat starch paste was used as the adhesive. This is a ‘home brew’ adhesive prepared as needed by mixing powdered wheat starch with pure water, then ‘cooked’ and blended until the ‘right’ consistency is achieved. This is easier said than done in the museum’s small staff kitchen! The final creamy smooth paste is diluted to a working consistency and applied with a soft brush. The two smaller tears were attended to, covered with Tyvek and left to set overnight with some light weights to keep everything in place, the map was now ‘relaxed’ but still had some residual curl and distortion. This bit had been quite straightforward and the next day the repairs were sound enough for the map to be handled.
The last tear was much bigger, around 190 mm long, with the clay coating badly chipped around the edges and many small flakes of clay already missing. With the map face up the edges of the tear were aligned as closely as possible with all the remaining adhering pieces of clay coating fitted to the appropriate place on each side. The damaged area was then sandwiched between two pieces of card to hold everything in place and the map was turned over so the repair work could be started on the underneath.
The process was the usual tissue and wheat starch paste. Because of the distortion around the tear the repair had to be started in several places, not at the start or finish as this would have added to the distortion as the repair progressed. Things went well enough, although the distortion was still evident, and the next day further, more robust, work could be commenced, this involved more layers of tissue being adhered along the entire length of the tear. Again all went as well as could be expected and the repair was weighted down and left to set overnight for further work the following day.
That afternoon NSW went into COVID lockdown and access to the museum was effectively prohibited!
Weeks went by. Fears over having to leave the damp repair under weights and unattended increased by the hour. When the museum was again able to be legally accessed the worst fears had been realised.
Wearing gloves and a half face canister respirator fitted with an N95 filter (far from ideal PPE but all that was available) the affected areas were lightly swabbed with cotton buds damp with isopropyl alcohol solution, a proprietary brand of 64% concentration intended for massage but with no other additives that may cause harm.
With a combination of Moruya’s humid spring climate, courtesy of the developing La Niña cycle, and the damp paste a veritable zoological garden of mould had germinated over the repair site on both sides of the map.
The mycelium mass (the fluffy filamentous parts of a mould infestation) was lifted away. The worst of the mould was now removed, although some of the dark stain remained, but the swabbing had also lightened the clay coating. Curiously there was no sign of the colour on the used cotton bud. Go figure?
Finally a thin layer of wheat starch paste was applied over the front surface of the repaired area to hold the little flakes of clay in place.
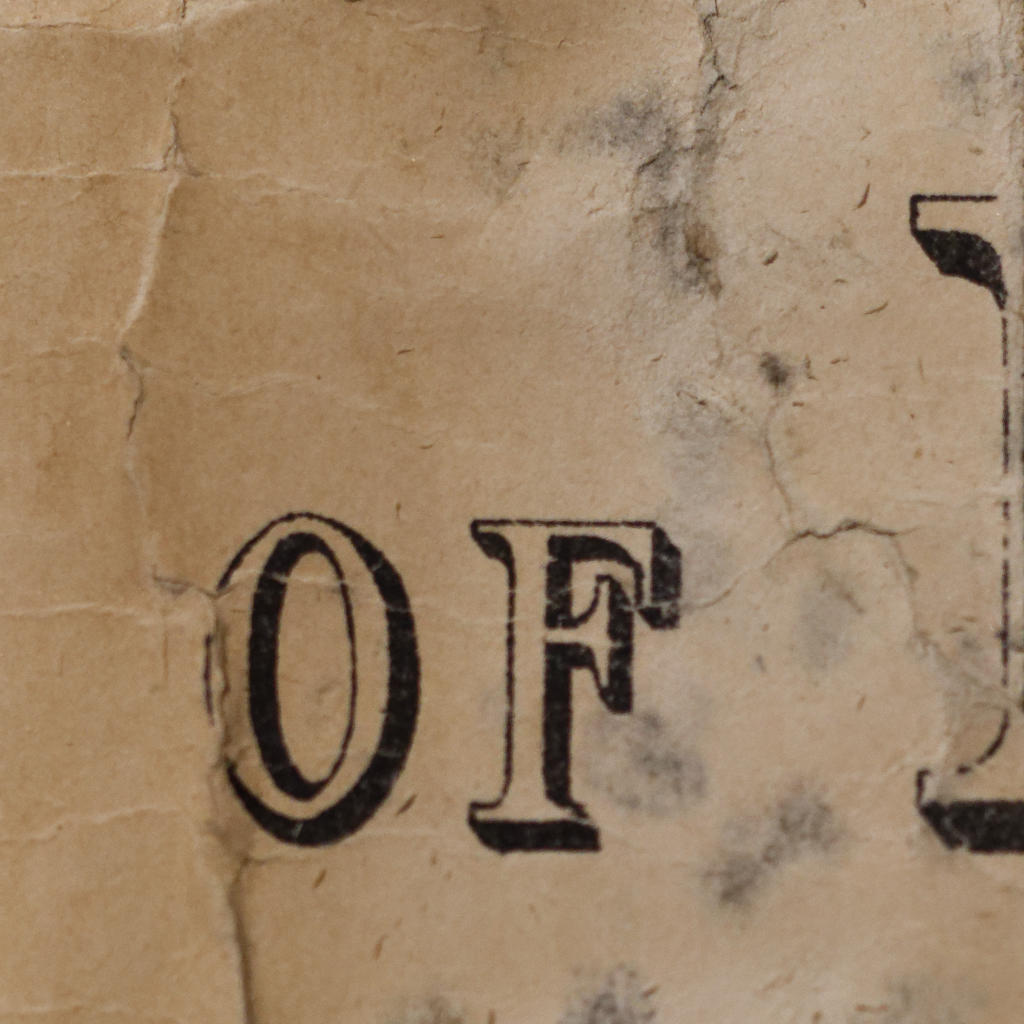
A “B+” for the repair, but an “E-“ for the treatment of the mould! COVID gets an “F” for allowing the mould to get a hold in the first place.
The map was to be part of the new Moruya Stories exhibition that would greet visitors when the museum opened after COVID restrictions were eased. So it would need to be mounted. The fear being that any sort of encapsulation would create a microclimate that would enable mould to flourish once more.
You never actually kill mould, it just kind of goes away for a while and comes back when you have forgotten about it and the conditions suit it. Even semi-permanently mounting the map to a backing seemed a bit of a risk given the eagerness of mould to ‘have a go’. The map needed to be able to ‘breathe’ unhindered. The solution was to use polythene edging from the local hardware shop (an Aladdin’s cave of potential conservation supplies, if chosen carefully!)
The gap in the edging was about 6mm, just enough clearance to allow the map and a backing of corflute to fit easily. To make a nice tight fit, additional thin strips of corflute were able to be wedged in with a carefully considered combination of gentle persuasion and extreme violence. This edging gives the map a more or less robust frame and the whole mounted object is rigid enough to stand on its own three feet.
Three feet? The map is now displayed on an artist’s easel that belonged to Mrs Arnold, an art teacher at Moruya High School in the late 1940’s, but that is another Moruya Stories.


Leave a Reply